Introduction to Overclocking
Overclocking refers to the practice of increasing the clock rate of a computer’s central processing unit (CPU) or graphics processing unit (GPU) beyond its factory-set limits. This adjustment enhances the performance of these components, allowing them to execute tasks more quickly and efficiently than originally intended. Enthusiasts generally undertake overclocking to maximize the potential of their systems, especially for gaming or resource-intensive applications that demand high performance.
The primary benefit of overclocking lies in the significant increase in computing power. For gamers, this translates to improved frame rates, higher graphic settings, and a smoother overall experience. Applications that require heavy processing, such as video editing software or 3D rendering tools, also benefit from the enhanced performance delivered through overclocking. As such, overclocking can provide a cost-effective alternative to upgrading hardware components, allowing users to extract more value from existing systems.
However, overclocking is not without its risks. An increase in clock rates can lead to greater heat production, which, if not properly managed, can cause overheating and consequently damage to the CPU or GPU. It is essential to implement adequate cooling solutions, such as high-performance fans or liquid cooling systems, to mitigate these risks. Additionally, overclocking may void warranties, as manufacturers often do not support user modifications that operate beyond specified limits. Therefore, it is crucial for users to weigh the potential advantages against the drawbacks before deciding to overclock. Through careful consideration and adequate preparation, enthusiasts can safely navigate the world of overclocking, unlocking the full capabilities of their hardware while minimizing risks.
Understanding Your Hardware
Before embarking on the journey of overclocking your CPU and GPU, a comprehensive understanding of your specific hardware is paramount. Each model features unique specifications that dictate its performance capabilities, stability, and thermal limits. Therefore, familiarity with your CPU and GPU models is essential for successful and safe overclocking.
Begin by identifying the model of your CPU and GPU. This can typically be achieved through the system information utility in your operating system or by using dedicated software tools. Once identified, research the stock specifications of your hardware, including clock speeds, power draw, and core counts. Stock specifications serve as the baseline from which you will measure any improvements post-overclocking. In addition, manufacturers often provide essential information regarding thermal design power (TDP) limits, which indicates the maximum amount of heat generated that the cooling solution must dissipate effectively.
Equally important is understanding the cooling solution employed in your system. Overclocking inherently increases both the voltage and heat output of your components, necessitating robust cooling solutions to prevent overheating. Depending on your hardware, you may find air cooling, liquid cooling, or a hybrid system. Assess the effectiveness of your cooling setup in correlation with your hardware’s TDP; inadequate cooling could lead to thermal throttling or hardware failure.
Lastly, it is crucial to consider power limits along with other hardware capabilities. Many motherboards feature power delivery systems that can affect overclocking potential. Ensuring that your power supply is sufficient to handle the increased demands during overclocking is essential. By thoroughly understanding these aspects of your hardware, you lay the groundwork for a safe and effective overclocking experience.
Essential Tools and Software for Overclocking
Before embarking on the journey of overclocking your CPU and GPU, it is vital to equip yourself with the appropriate tools and software that ensure a smooth and safe process. These tools not only facilitate the overclocking adjustments but also assist in monitoring the performance and maintaining system stability throughout the procedure.
First and foremost, benchmarking tools are essential for assessing the performance improvements gained from overclocking. Applications such as CPU-Z and FurMark allow users to run stress tests and evaluate the system’s performance under load. By measuring frame rates and processing times, these tools provide valuable insights into how effective the overclock is and whether it meets the user’s expectations.
Temperature monitoring software plays a crucial role in managing the risks associated with overclocking. Programs like HWMonitor and Core Temp keep track of the temperature readings of the CPU and GPU, ensuring that they do not exceed safe limits. Excessive heat can significantly damage components, thus vigilant monitoring is imperative during the overclocking process.
Moreover, overclocking-specific utilities such as MSI Afterburner and ASUS GPU Tweak allow users to fine-tune their clock speeds and voltages. These programs provide an intuitive interface for making real-time adjustments, making it easier to achieve the desired performance enhancements while ensuring system stability.
Incorporating these essential tools into your overclocking routine will enhance the overall experience and help prevent potential mishaps. Not only do they enable performance optimization, but they also contribute to maintaining the health and longevity of your hardware, allowing you to enjoy the benefits of overclocking safely.
Setting Up for Overclocking: BIOS/UEFI Tweaks
To initiate the overclocking process, accessing the system’s BIOS or UEFI is essential. When your computer starts, the initial boot screen often displays a prompt indicating which key to press to enter these settings. Common keys are Delete, F2, or Esc. Once inside the BIOS/UEFI interface, users will encounter several menus conveying critical hardware information and settings.
Locating the relevant options for overclocking can vary by manufacturer, but typically, they are found under tabs marked Advanced, Overclocking, or Performance. Users should look for settings that pertain to the CPU multiplier, base clock (BCLK), and voltage adjustments. The CPU multiplier directly affects the processor’s operating frequency; increasing this value can provide significant performance gains.
Next, consider the base clock (BCLK), which defines the system’s overall clock speed. Adjusting the BCLK can fine-tune performance but must be done with caution, as it also impacts other components like RAM and PCIe devices. Aim for gradual adjustments; small increments are advisable to ensure system stability.
Voltage settings play a crucial role in the stability of overclocked components. CPU and GPU voltages may need to be increased slightly to support higher frequencies. However, one must exercise caution, as excessive voltage can lead to damage. It’s recommended to implement the smallest necessary voltage adjustments and continuously monitor temperatures using reliable software tools.
Prior to any adjustments, it is imperative to note the default values of the current settings. This allows for easy reversion back to the original configuration in case issues arise after changes are made. Regularly saving increments and testing system stability can be beneficial practice, ensuring that performance gains do not compromise the hardware’s safety.
Overclocking Your CPU: Step-by-Step Guide
Overclocking your CPU can offer improved performance for gaming, content creation, and various computational tasks. However, it is essential to approach this process with caution to prevent hardware damage. Below is a step-by-step guide to safely overclocking your CPU.
First, begin by understanding your CPU’s specifications. Research its default clock speed and maximum overclocking capability. This information is crucial to establishing a baseline for your adjustments. Next, you will need to access your BIOS or UEFI firmware settings. Restart your computer and continuously press the appropriate key (often ‘Delete’ or ‘F2’) to enter the setup utility.
Inside the BIOS, locate the CPU settings menu. Here, you will typically find options for setting the CPU multiplier and voltage. To overclock, start by adjusting the CPU multiplier to increase the clock speed gradually. It is advisable to make slight adjustments, increasing the multiplier by 1 or 2 at a time to ensure stability. After each adjustment, save your changes and exit the BIOS.
Once you have updated your settings, boot into your operating system and begin stress testing your CPU using reliable software such as Prime95 or AIDA64. This testing will help determine the stability of your new settings. Monitor your CPU temperatures closely during this phase; using tools like HWMonitor or Core Temp can provide real-time readings. If temperatures exceed safe limits (generally around 80°C to 90°C), revert your settings to prevent overheating.
If the initial tests are successful, you may continue increasing the multiplier and voltage. Ensure that you only raise the voltage in small increments, as excessive voltage can damage your CPU. Repeat the testing for each adjustment until you reach your desired performance without compromising stability or safety. Through this meticulous process, you can safely enjoy the benefits of overclocking your CPU.
Overclocking Your GPU: Step-by-Step Guide
Overclocking your graphics processing unit (GPU) can lead to enhanced performance, greater frames per second in games, and improved visual quality. The process, however, requires careful consideration and methodical execution to ensure stability and prevent hardware damage. To begin, one must choose reliable software for overclocking, with popular options including MSI Afterburner, EVGA Precision X1, and ASUS GPU Tweak. These tools provide user-friendly interfaces for adjusting the clock speeds and memory settings of your GPU.
Start by launching your chosen overclocking software. It often displays current clock speeds and memory usage, which serve as a baseline for your adjustments. Gradually increase the core clock speed, typically in small increments of 10–20 MHz, and apply the changes. After each adjustment, it is imperative to conduct a stress test using benchmarking tools like FurMark or Unigine Heaven. This testing helps to evaluate the stability of your GPU and monitor its temperature to ensure it remains within safe limits, ideally below 85°C to avoid overheating.
Next, it is essential to address the memory clock speed. Similar to the core clock, increase the memory speed in small increments and conduct stress tests after each change. Continuously monitor the GPU temperature and performance during these tests. If artifacts or crashes occur, revert to the previously stable settings. Additionally, some overclocking software allows voltage adjustments, which can provide a further boost in stability and performance. However, increasing voltage should be handled with caution, as it may lead to overheating and potential hardware damage if not managed appropriately.
Finally, when you have achieved a satisfactory overclock with stable performance, ensure to save your settings in the overclocking software. Regularly monitor your GPU during intensive tasks to ensure consistency. This process not only improves gaming experiences but also prolongs the lifespan of your GPU through careful adjustments. Regular benchmarking will also help you gauge performance gains related to your overclocking efforts.
Monitoring Performance and Stability
Once the overclocking procedure has been successfully implemented, it becomes imperative to continuously monitor both the performance and stability of the CPU and GPU. This ongoing evaluation not only ensures the functionality of the components but also prolongs their lifespan by preventing potential damage due to excessive heat or instability. Utilizing performance monitoring tools is essential in tracking critical metrics such as temperature, clock speeds, and power consumption.
Several software options are available for this purpose, with some popular choices including MSI Afterburner, HWMonitor, and CPU-Z. These tools provide real-time data about system performance, allowing users to assess the impact of the overclocking changes. For instance, carefully observing temperature readings under load can help in identifying any overheating issues that may arise due to increased clock speeds. It is crucial to establish a safe operating temperature limit for both the CPU and GPU, ensuring they do not exceed manufacturer-recommended thresholds.
In addition to observing real-time metrics, conducting extensive benchmarking is critical in determining the effectiveness of the overclock. Benchmarking tools like 3DMark and Cinebench facilitate a comprehensive assessment by testing the hardware under different loads. By comparing benchmark results before and after the overclocking process, users can gauge performance improvements and confirm that their changes yield the desired outcomes without compromising stability.
Regularly evaluating these performance metrics and benchmark results will also allow users to identify any signs of instability, such as system crashes or unexpected artifacts in graphics rendering. Addressing these issues promptly by adjusting clock speeds or voltages can help maintain a stable system. In conclusion, ongoing monitoring is essential for achieving a sustainable overclock, safeguarding both the performance and longevity of your CPU and GPU.
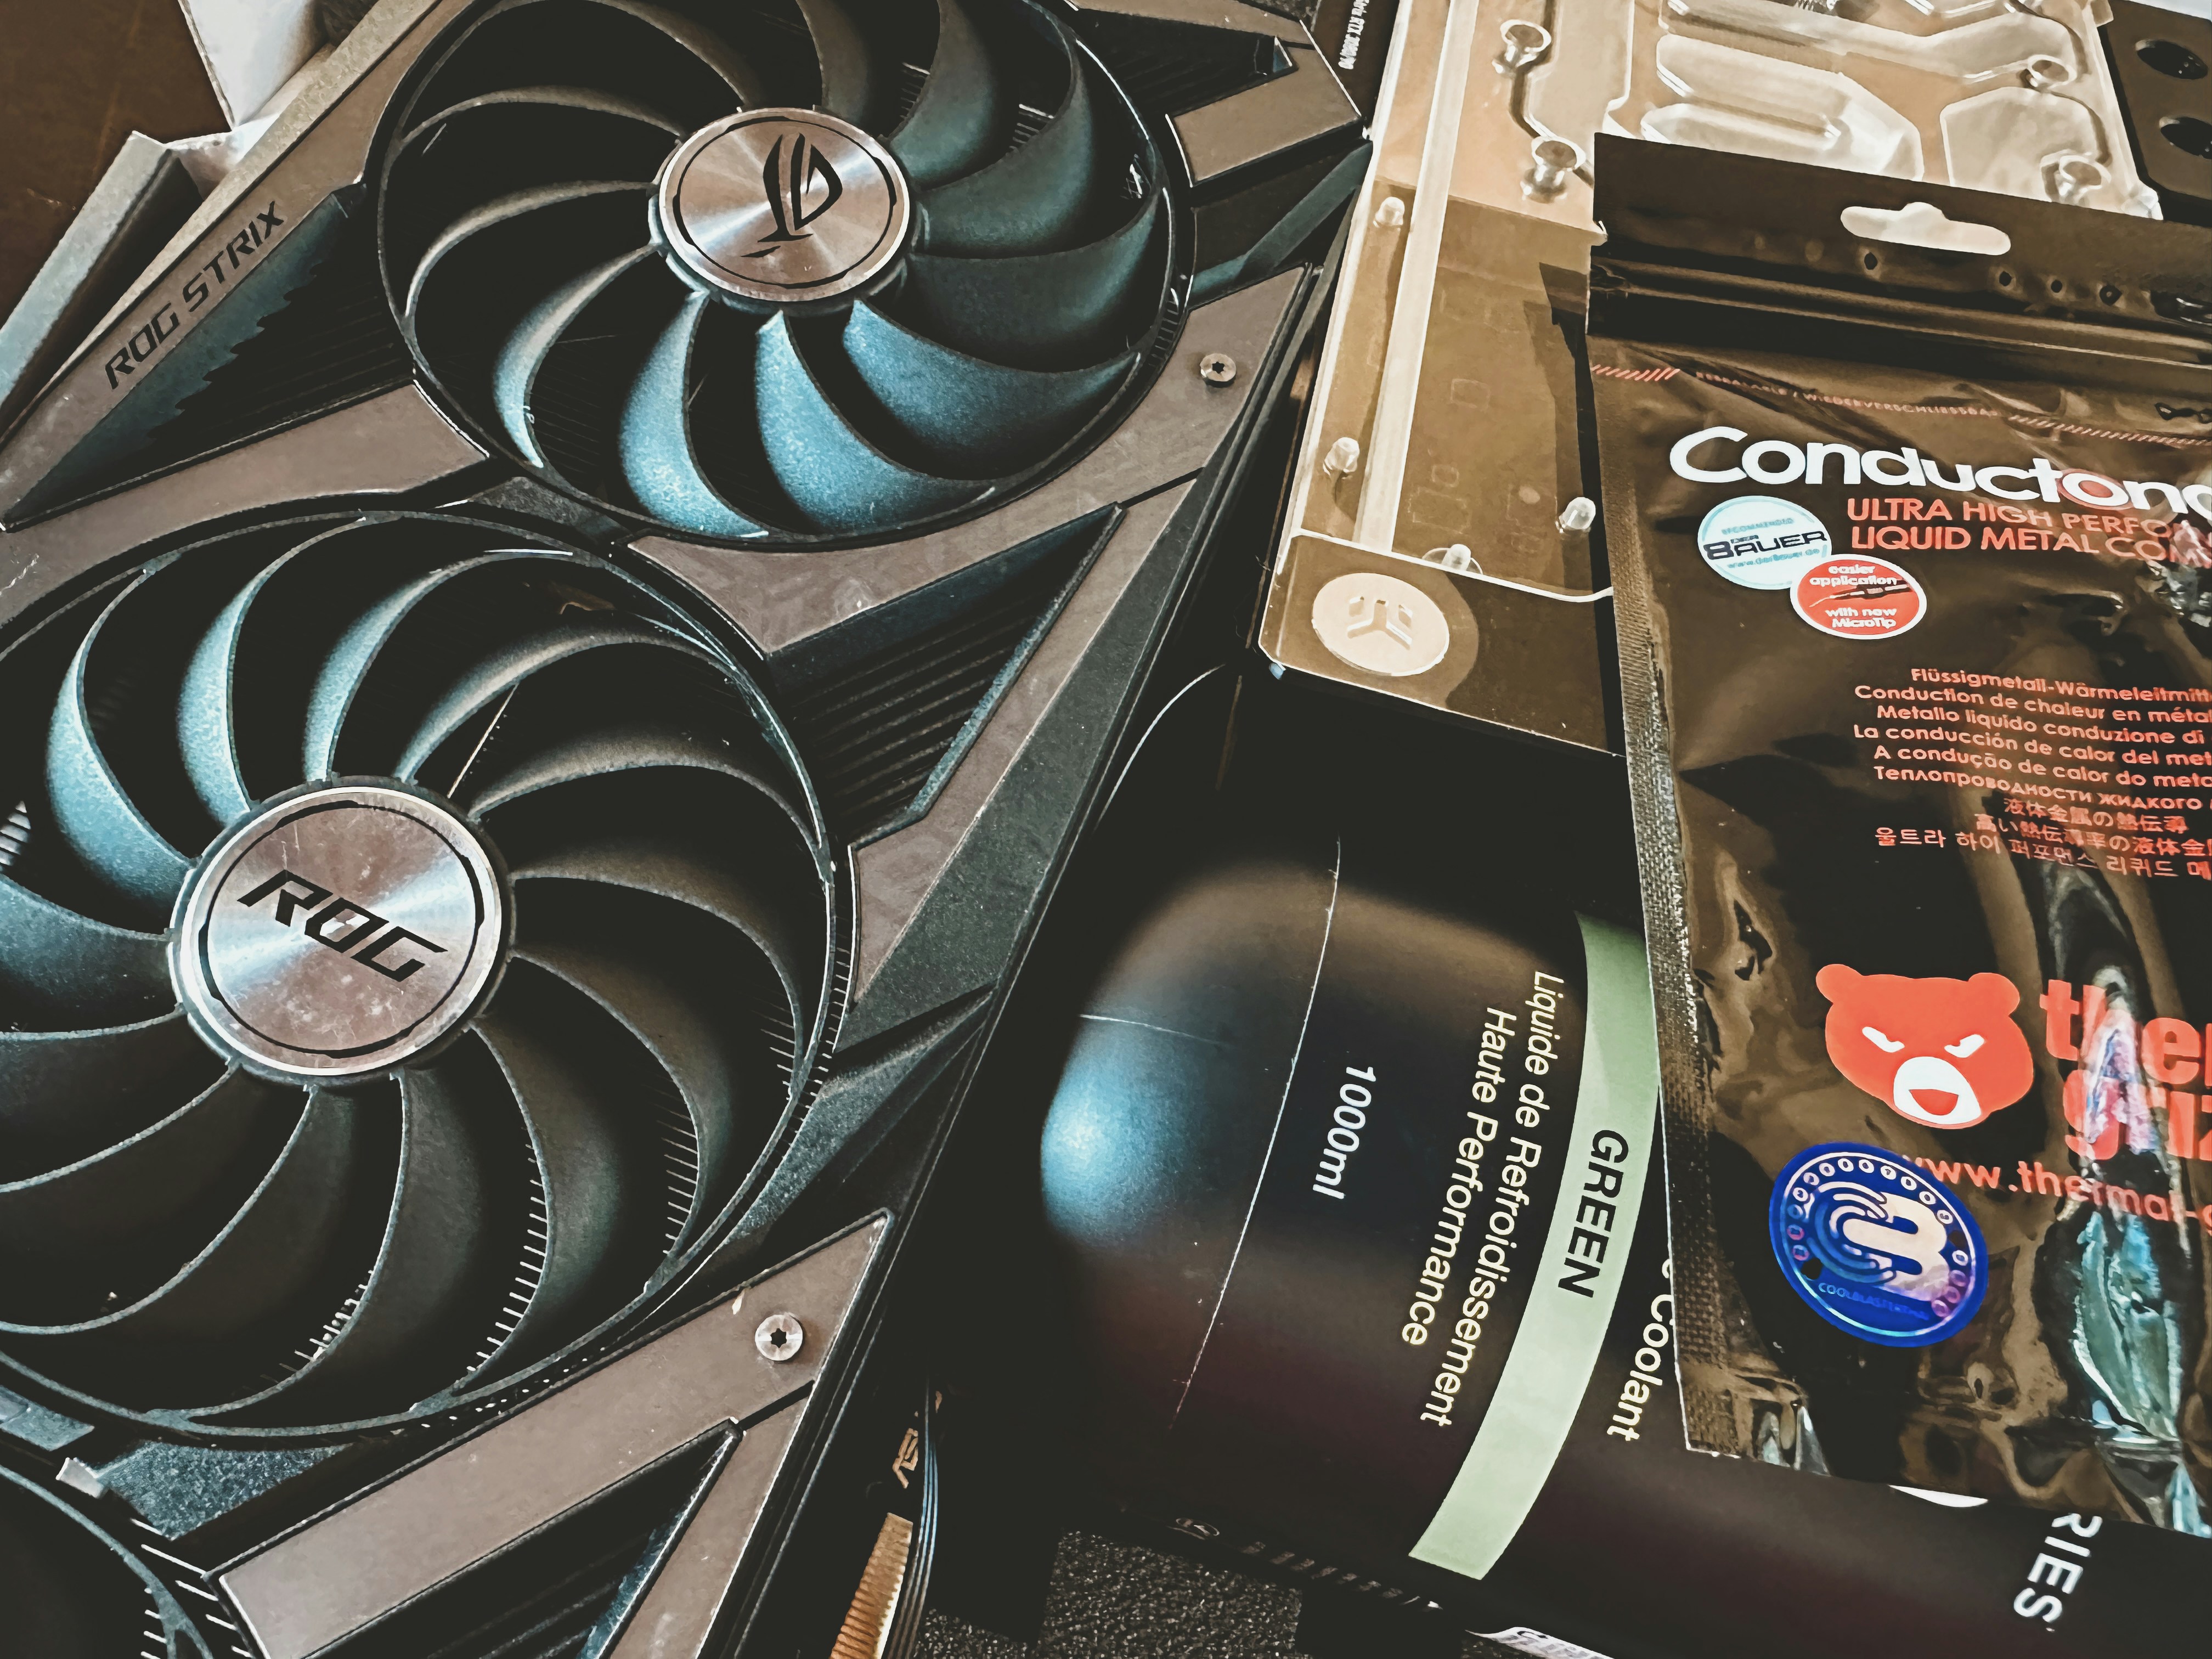
Cooling Solutions for Overclocked Hardware
Overclocking your CPU and GPU can yield significant performance benefits, but it also generates additional heat, which can lead to instability or even hardware failure if not properly managed. To ensure safe and efficient overclocking, selecting an appropriate cooling solution is critical. The primary options available are air cooling, liquid cooling systems, and more advanced methods such as phase change cooling.
Air cooling, a popular and widely accessible option, utilizes fans and heatsinks to dissipate heat. This method incorporates the principle of convection, where ambient air is utilized to cool the hardware. High-performance air coolers feature larger heatsinks and more effective fans that can accommodate substantial heat loads. They are often easier to install and maintain than liquid systems, making them suitable for entry-level overclockers or those looking for a cost-effective cooling solution.
Liquid cooling systems have become increasingly favored in the overclocking community due to their superior thermal management capabilities. These systems circulate a coolant through pipes, absorbing heat from the components and transferring it to a radiator where it is dissipated. AIO (All-in-One) liquid coolers are user-friendly and require less setup than custom loop systems, which provide maximum cooling potential for enthusiast-level builds. The choice of liquid cooling allows for quieter operation and better temperature control, making them ideal for high-performance gaming setups or workstations.
For advanced users, phase change cooling represents the cutting edge of thermal management. This technology functions similarly to a refrigerator, using refrigerant to absorb heat and achieve sub-ambient temperatures. Although it offers impressive cooling performance, phase change systems can be complex and costly, making them best suited for extreme overclocking enthusiasts or specialized applications. Ultimately, the choice of cooling solution should align with the user’s experience level, budget, and the specific demands of their overclocked hardware.
Troubleshooting Common Issues
Overclocking a CPU or GPU can lead to significant performance gains; however, it is not without its challenges. Troubleshooting common issues that may arise during or after the overclocking process is crucial for maintaining system stability and longevity. One of the most frequently encountered problems is system crashes or unexpected reboots. These issues typically stem from excessive voltage or inadequate cooling solutions. To mitigate these problems, it is advisable to gradually increase clock speeds while monitoring system performance and temperature levels using reliable monitoring software.
Another common issue is overheating, which can occur when the overclocked components generate more heat than the cooling system can dissipate. To address this, ensure that a suitable cooling solution is in place, whether it is air cooling or liquid cooling. Regular maintenance, such as cleaning dust from fans and ensuring proper airflow within your case, can prevent overheating. Additionally, using thermal paste appropriately during hardware installation helps enhance heat transfer between the CPU or GPU and the heatsink.
Instability during operation can also pose challenges post-overclocking. Symptoms may include random application crashes or poor responsiveness. To resolve instability, it may be necessary to revert to the default clock settings or adjust the voltage levels. Experimenting with a balance between clock speed and voltage can yield a stable performance without compromising safety. If complications persist, rolling back changes is essential. Most motherboards offer a feature that allows users to revert to factory settings easily. This can be done through BIOS settings, restoring system functionality even after aggressive overclocking attempts.
Ultimately, understanding the common issues associated with overclocking and having a clear plan for troubleshooting can significantly enhance the experience and maximize performance without compromising system integrity.