🖥️ Build Your Own Computer – Visual Guide
🔹 Step 1: Choose Your Components
(Infographic idea: a labeled diagram showing CPU, GPU, RAM, Storage, Motherboard, PSU, Case, Fans)
👉 Pick parts that match your budget and needs.
🔹 Step 2: Gather Tools
(Simple icons: screwdriver 🪛, thermal paste, cable ties)
👉 Basic tools are enough to assemble your PC.
🔹 Step 3: Step-by-Step Assembly (Infographic flow)
-
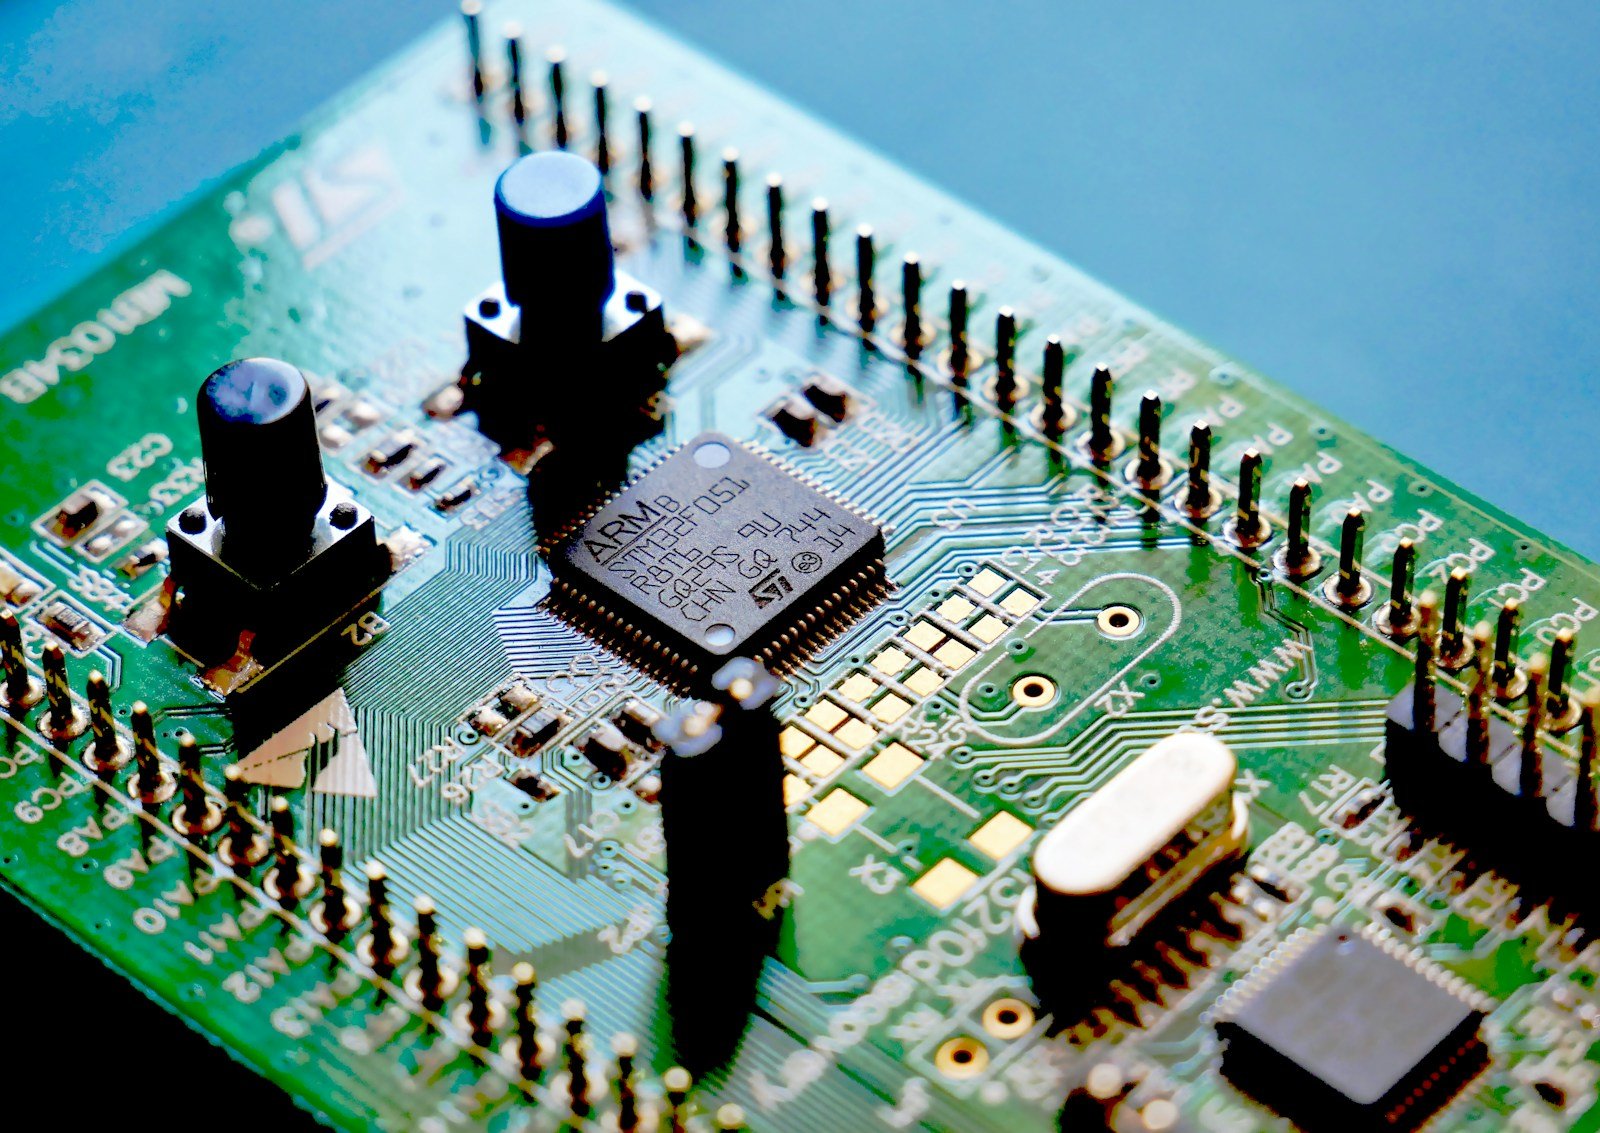
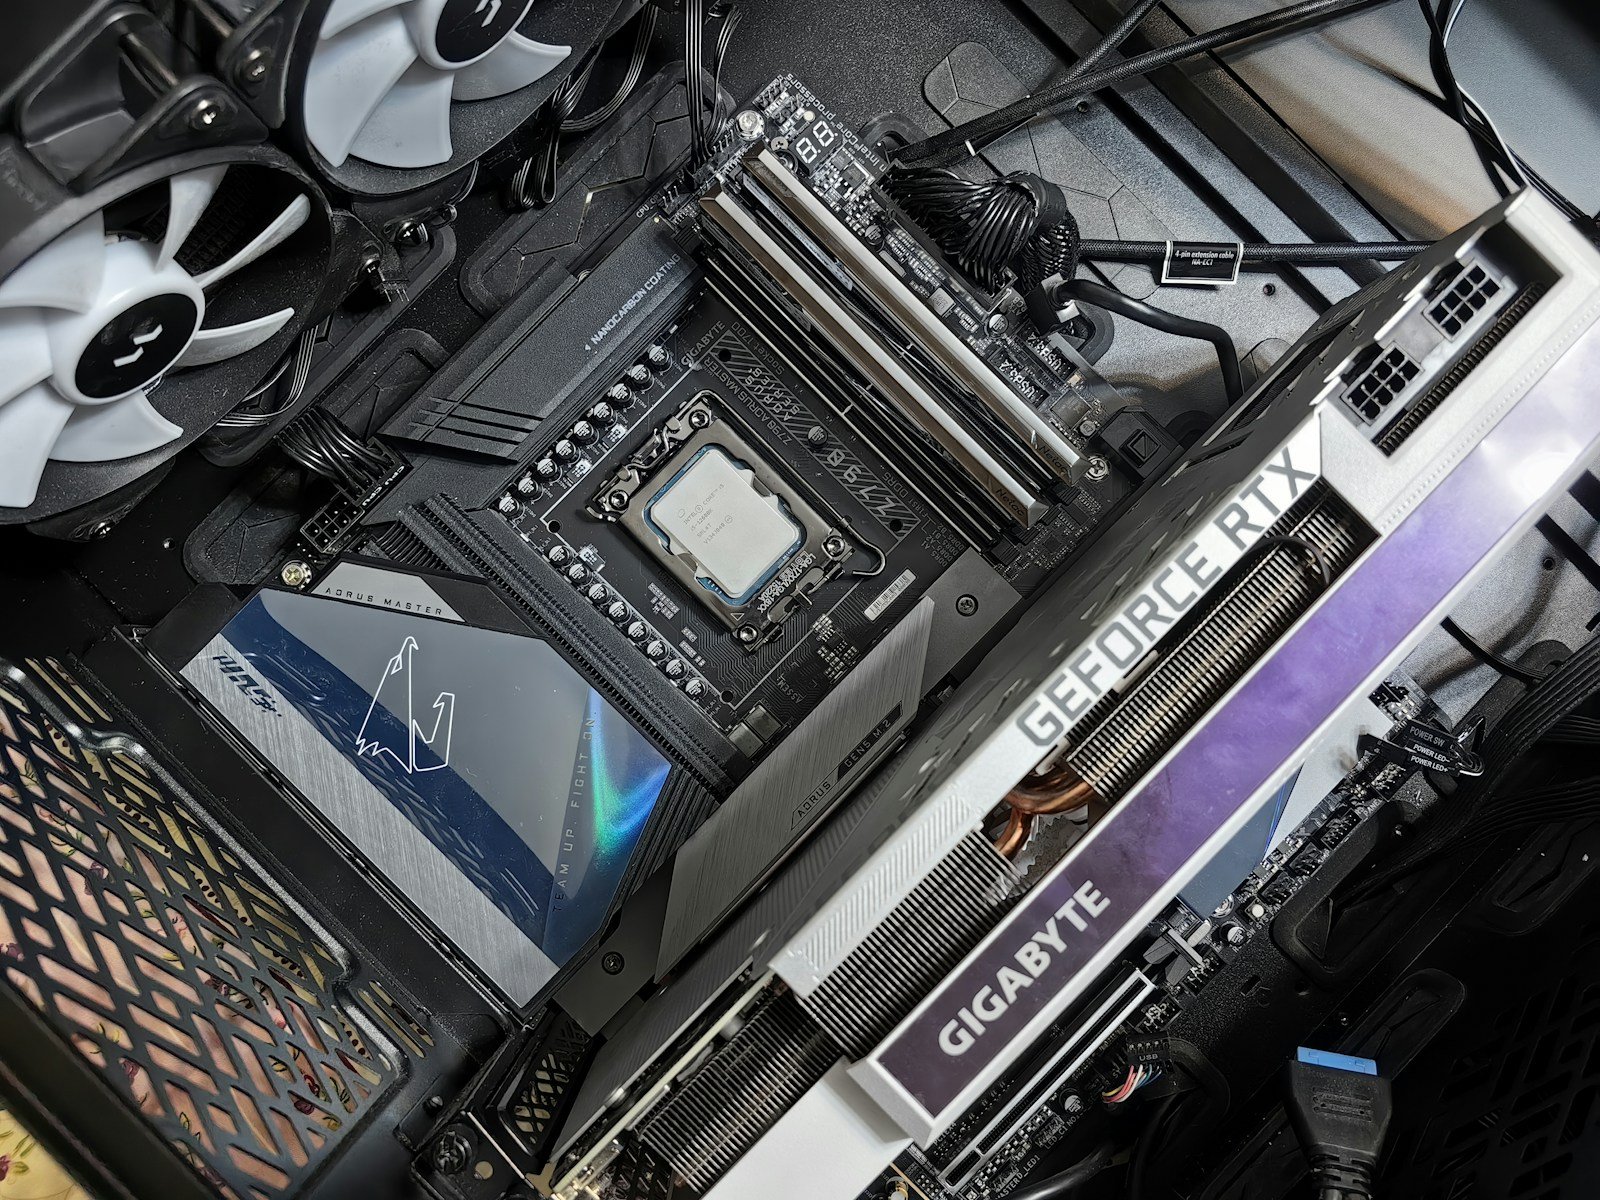
Install CPU 🧠 – Place carefully in motherboard socket.
-
Apply Thermal Paste & Mount Cooler ❄️ – Keeps CPU from overheating.
-
Insert RAM ⚡ – Push into memory slots until it clicks.
-
Install Storage 💾 – SSD or HDD into drive bay or slot.
-
Mount Motherboard 🔗 – Screw into case standoffs.
-
Install GPU 🎮 – Insert into PCIe slot.
-
Connect PSU 🔋 – Plug power into motherboard, GPU, and drives.
-
Tidy Cables 🪢 – Use cable ties for airflow.
-
Close Case 🖥️ – Secure panels and prepare for boot.
🔹 Step 4: First Boot & BIOS
(Diagram: monitor with BIOS screen)
👉 Press DEL or F2 on startup → Check if CPU, RAM, and drives are detected.
🔹 Step 5: Install OS & Drivers
(Visual: USB stick + Windows/Linux icons)
👉 Install your operating system, then add graphics & chipset drivers.
🔹 Step 6: Test & Optimize
(Icons: thermometer 🌡️, benchmark chart 📊)
👉 Run benchmarks, check temps, and adjust fan speeds if needed.
⚡ Result: A PC built by you — faster, cheaper, and tailored exactly to your needs.
👉 I can now design infographic-style images for each step (clean, modern, with icons and simple labels) that you can use on your website.